Chemical lab benches endure constant stress — spills, thermal shock, abrasive cleaners, and the weight of heavy equipment. Yet most facilities overlook maintenance until a surface peels, a hinge fails, or a crack opens near a sink joint. Reactive repairs almost always cost more than a structured preventive approach, and many replacement projects trace back to years of avoidable damage: the wrong cleaning products, spills left to dwell, or hardware never inspected after installation.
This guide gives lab managers, procurement officers, and facilities teams a practical framework for chemical lab bench maintenance — covering daily cleaning, material-specific worksurface care, spill protocols, hardware inspections, and a clear repair-versus-replace decision. It also shows how worksurface choice at procurement shapes long-term maintenance effort.
Lab Bench Maintenance Checklist at a Glance
If you want the short version before the full guide, here it is. Use this as a quick reference, then dig into the sections below for details on each task.
|
Frequency |
Key Tasks |
|---|---|
|
Daily |
Wipe and dry worksurfaces, clean the sink area, check drawers and fittings, and scan for new surface damage |
|
Weekly |
Inspect worksurface joints and sink cutouts, test hinges and drawer slides, and check service valves |
|
Monthly |
Tighten fasteners, level adjustable feet, lubricate hardware, and inspect casework interiors for moisture |
|
Annually |
Run a full structural inspection and review whether the worksurface material still fits current chemical use |
|
Immediate (spill response) |
Protect personnel with PPE, contain and remove the spill, clean per the SDS, then inspect and document the surface |
Why Does Chemical Lab Bench Maintenance Matter?
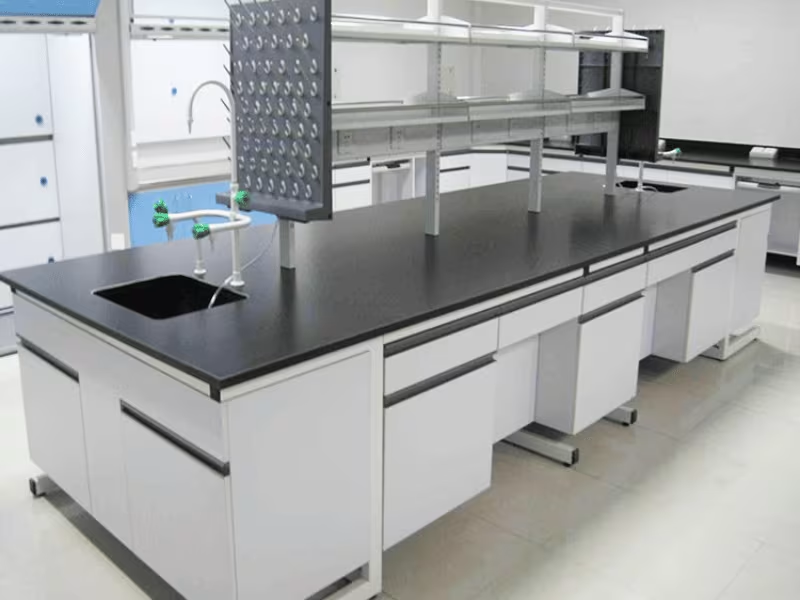
Lab benches are infrastructure. They support analytical workflows, house service utilities, and provide the stable, contamination-controlled surfaces that accurate results depend on. A degraded worksurface is not just a visual problem — it can compromise sample integrity, create chemical exposure risks, and introduce contaminants into sensitive procedures.
From a facilities and procurement perspective, maintenance matters for three practical reasons:
Surface integrity affects safety. Cracked, pitted, or delaminated worksurfaces can harbor residual chemicals, biological material, or contaminants that routine cleaning cannot reach. This is a particular concern in pharmaceutical quality control labs, food testing environments, and hospital labs where cross-contamination carries regulatory consequences.
Hardware failure disrupts operations. A drawer that won’t close properly, a cabinet door that sags out of alignment, or a loose frame connection affects workflow efficiency and can create load-bearing risks if left unaddressed.
Material selection at procurement determines the maintenance burden. This point is often underestimated. An epoxy resin worksurface installed in a lab that regularly handles strong oxidizing agents will degrade faster than the same surface in a general chemistry environment — not because the material is poor, but because it wasn’t matched to the application. Getting material selection right from the start is the single most effective long-term maintenance strategy available to procurement teams. Explore Glorylab’s worksurface material options →
How to Clean a Lab Bench Without Damaging the Surface
The safest approach is simple: clean with a pH-neutral, laboratory-grade cleaner, skip abrasive pads and powders, and match the cleaning agent to your specific worksurface material rather than using one product for everything. Wipe residues away promptly, then dry the surface so moisture doesn’t sit in joints or around fittings. When you’re unsure whether a product is compatible, check the material manufacturer’s chemical resistance data before you use it.
Daily Cleaning Best Practices
Consistent daily cleaning is the foundation of lab bench maintenance. Most surface degradation Glorylab sees in replacement inquiries starts with cleaning habits—either using the wrong products or applying the right products incorrectly.
What to Do Each Day
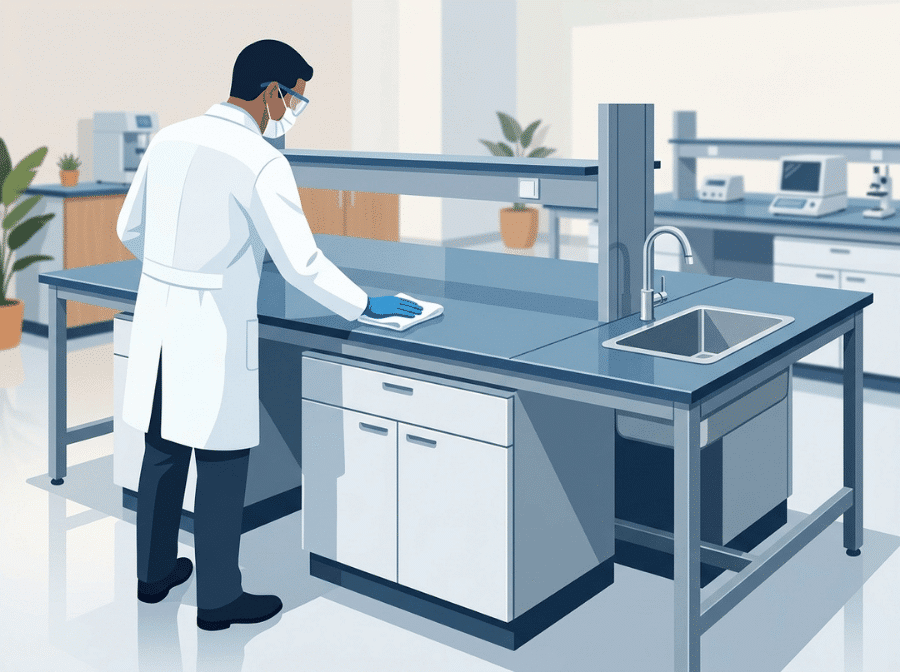
- Wipe down surfaces after each use with a clean, lint-free cloth or disposable lab wipe. Don’t allow chemical residues to dwell on any worksurface material.
- Use pH-neutral, laboratory-grade cleaners for general surface cleaning unless your SOP specifies otherwise for your material type.
- Dry surfaces after cleaning. Moisture sitting in joints, around sinks, or near service fittings is one of the most common causes of long-term structural damage — particularly in steel casework and wood-framed benches.
- Clear the bench of equipment before cleaning where practical. Cleaning around fixed equipment leaves residue in shaded areas.
- Check sink areas and drain connections for standing water or debris buildup. Integrated sinks with welded or sealed joints are easier to clean thoroughly than surface-mounted fittings, but any joint requires attention.
- Inspect for new damage — chips, cracks, or discoloration — during each cleaning pass. Catching surface damage early prevents it from becoming a more serious structural issue.
Daily Cleaning Checklist
- Wipe all worksurfaces with an appropriate cleaner and dry thoroughly
- Clean the sink bowl, drain, and surrounding area; check for pooling water
- Wipe down cabinet doors, drawer fronts, and handles
- Check that drawers and doors close correctly
- Remove and properly dispose of any chemical waste
- Check for visible surface damage (chips, cracks, staining, peeling)
- Confirm service fittings (gas taps, water valves) are closed and dry
How Often Should a Lab Bench Be Inspected?
Inspection works best in tiers. Lab staff should do a quick daily scan for surface damage and standing water during routine cleaning. Weekly checks focus on joints, sink cutouts, hinges, drawer slides, and service valves. Monthly inspections cover fasteners, adjustable feet, hardware lubrication, and casework interiors. Once a year, a full structural inspection of the frame, joints, and hardware confirms nothing has degraded quietly over time. The preventive maintenance schedule below lays out each task, its frequency, and who owns it.
Weekly and Monthly Inspection Checklist
Daily cleaning keeps surfaces clean. Periodic inspections catch structural and hardware issues before they escalate.
Weekly
- Inspect all worksurface joints, particularly around sink cutouts and backsplash connections
- Check hinges and door closers for alignment and smooth operation
- Test drawer slides — full extension and retraction without catching or resistance
- Inspect any casters (on mobile benches) for debris and locking function
- Check gas tap handles and water valves for ease of operation
- Look for evidence of moisture infiltration around service penetrations
- Review the cleaning log and flag any recurring stain or residue patterns
Monthly
- Tighten any loose fasteners on frames, shelf brackets, and adjustable feet
- Check that adjustable feet are level and making full contact with the floor
- Inspect cabinet interiors for spills, corrosion, or moisture
- Lubricate hinges and drawer slides as needed with an appropriate lubricant (confirm compatibility with the material)
- Review any areas of surface staining for cause and appropriate treatment
- Document any damage or hardware issues for the maintenance log
How to Handle Chemical Spills Safely: Step-by-Step
Chemical spill response on a lab bench is a safety procedure first and a maintenance procedure second. Always follow your facility’s spill response SOP and consult the relevant Safety Data Sheet (SDS) for the specific chemical involved. The steps below reflect general good practice, but they do not replace facility-specific or regulatory guidance.
Step 1 — Protect personnel. Before approaching the spill, confirm that appropriate PPE is in place. This includes gloves, eye protection, and, at minimum, a chemical-resistant lab coat. For volatile or corrosive chemicals, your SOP may require respiratory protection.
Step 2 — Contain the spill. Use spill containment materials appropriate to the chemical type. For small liquid spills, absorbent pads or granular absorbent material can limit spread. Do not use materials that may react with the spilled chemical — verify compatibility via SDS.
Step 3 — Remove the bulk of the spill. Use appropriate tools to collect absorbed material. Avoid spreading the spill beyond its initial area.
Step 4 — Clean the affected surface. After bulk removal, clean the worksurface using a method consistent with your SDS guidance and your lab’s SOP. The appropriate cleaning agent will depend on the chemical involved. Do not assume that a standard bench cleaner is suitable for every spill type.
Step 5 — Inspect the surface for damage. Some chemicals may cause visible etching, discoloration, or surface softening with prolonged exposure—even on chemical-resistant materials. Inspect the area after cleaning and document any changes to surface condition.
Step 6 — Dispose of waste correctly. All spill cleanup materials — absorbents, wipes, and PPE — should be disposed of in accordance with your facility’s chemical waste procedures and applicable regulations.
Step 7 — Document and report. Log the spill event, the chemicals involved, the response taken, and any surface or equipment damage observed. This record supports both safety compliance and maintenance decision-making.
Maintenance Tips by Worksurface Material
Different worksurface materials have different chemical resistance profiles, cleaning requirements, and failure modes. This section covers the most common materials used in chemical lab benches.
How Do You Maintain an Epoxy Resin Lab Worksurface?
Epoxy resin worksurfaces are widely used in chemistry, pharmaceutical, and general-purpose labs because of their broad chemical resistance and non-porous surface. They are non-absorbent, can typically withstand dilute acids and bases, and resist most common organic solvents—though resistance varies by formulation and concentration. Verify specific chemical compatibility with the manufacturer for unusual reagents.
Do:
- Use mild detergent solutions or dilute isopropyl alcohol for routine cleaning
- Dry the surface after cleaning
- Address scratches promptly — while epoxy resin is durable, deep scratches can compromise the surface seal
Avoid:
- Prolonged contact with strong oxidizing acids (e.g., concentrated nitric acid, chromic acid) — even resistant surfaces may be affected under sustained exposure
- Abrasive pads or scouring powders, which dull the surface and can create micro-scratches
- Leaving organic solvent pools to dwell for extended periods — verify compatibility for the specific solvent
How Do You Maintain a Phenolic Resin Lab Worksurface?
Phenolic resin worksurfaces are commonly specified in educational labs, biological labs, and environments that require moderate chemical resistance with good impact performance. They generally resist water, many dilute chemicals, and common laboratory solvents, but they may not match the chemical resistance profile of epoxy resin in more demanding applications.
Do:
- Clean with mild soap and water or dilute disinfectant solutions
- Remove spills promptly — while phenolic resin resists many chemicals, prolonged exposure to strong acids or bases may cause surface degradation over time
- Inspect for edge swelling or delamination, particularly in high-humidity environments
Avoid:
- Strong alkalis under prolonged exposure — surface degradation may occur
- Sharp impacts at edges, which can chip the surface
- Abrasive cleaners
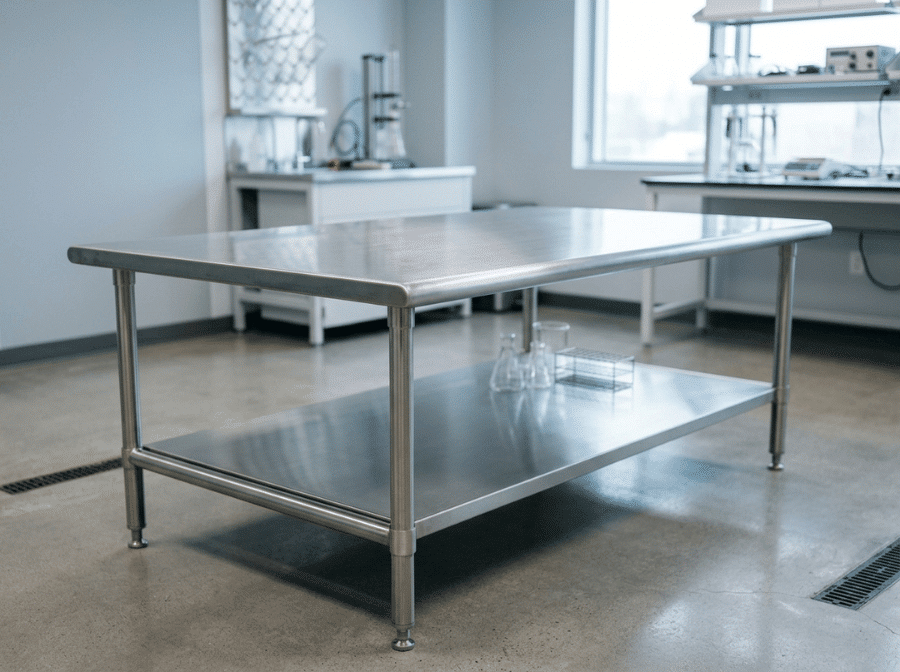
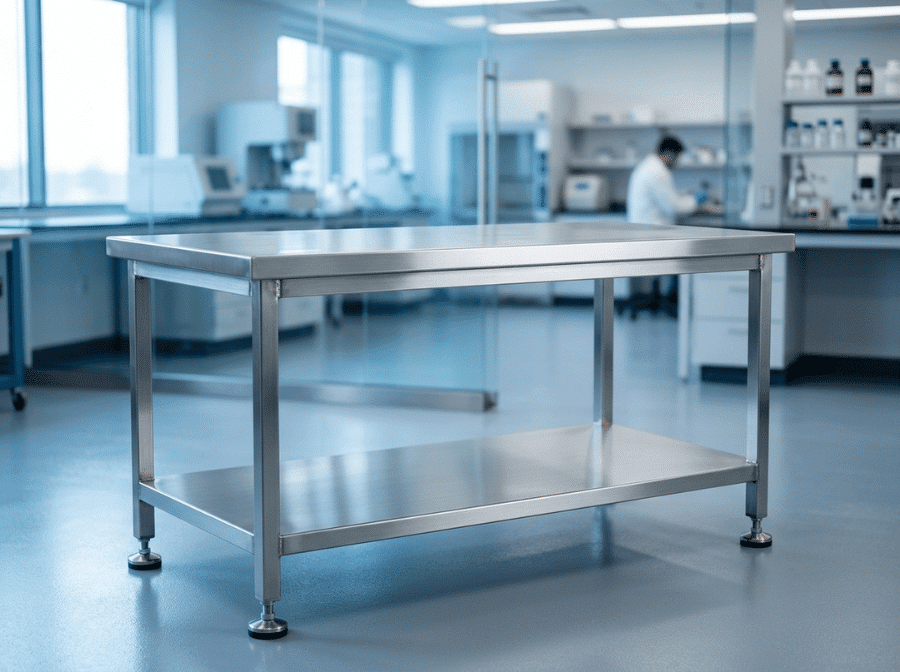
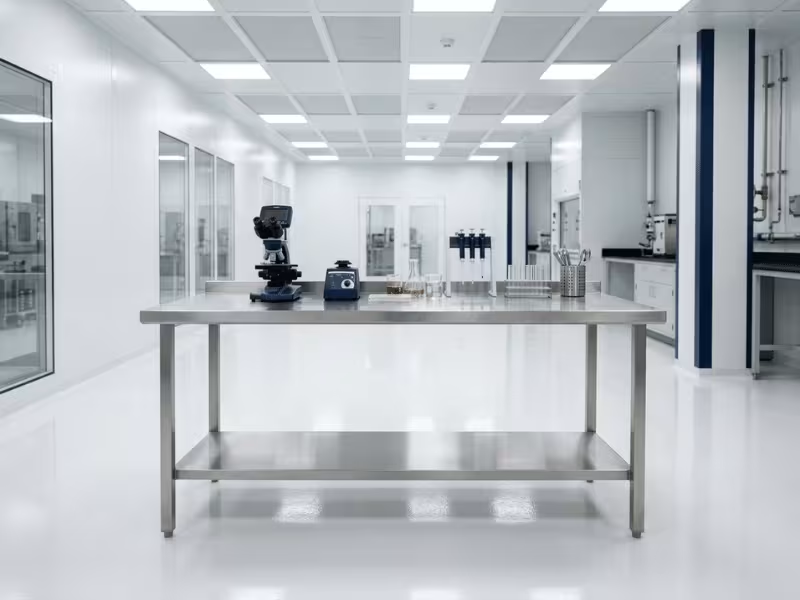
How Do You Maintain a Stainless Steel Lab Worksurface?
Stainless steel worksurfaces are standard in sterile processing areas, food testing labs, and environments that require frequent disinfection. They are durable, non-porous, and easy to clean—but not immune to damage.
Do:
- Clean in the direction of the grain to avoid cross-grain scratching
- Use stainless steel-compatible cleaners or mild detergents
- Dry surfaces after cleaning to prevent water spots and reduce the risk of chloride-related corrosion in environments where salt or chlorinated cleaners are used
- Inspect welds and joints regularly — these areas can be susceptible to crevice corrosion under certain conditions
Avoid:
- Bleach-based cleaners at high concentrations or for extended dwell times — chloride ions can compromise the passive oxide layer on stainless steel under prolonged exposure
- Steel wool or abrasive pads, which introduce scratches that can initiate corrosion
- Leaving acidic chemical spills to pool near joints or cutouts
How Do You Maintain a Ceramic Lab Worksurface?
Ceramic worksurfaces offer excellent resistance to heat, many acids, and UV exposure. They are commonly used in applications involving high-temperature work or strong acid exposure. However, ceramic is brittle and susceptible to impact damage.
Do:
- Use mild cleaners; ceramic surfaces are generally easy to clean
- Inspect grout lines or joint sealants regularly and reseal as needed to prevent moisture ingress
- Handle heavy equipment carefully to avoid impact damage
Avoid:
- Dropping heavy objects — impact chips or cracks are the primary failure mode for ceramic surfaces
- Allowing joint sealant to deteriorate, as moisture ingress can affect underlying structure
How Do You Maintain Steel and Wood Casework?
The casework beneath and around the worksurface deserves the same attention as the top surface.
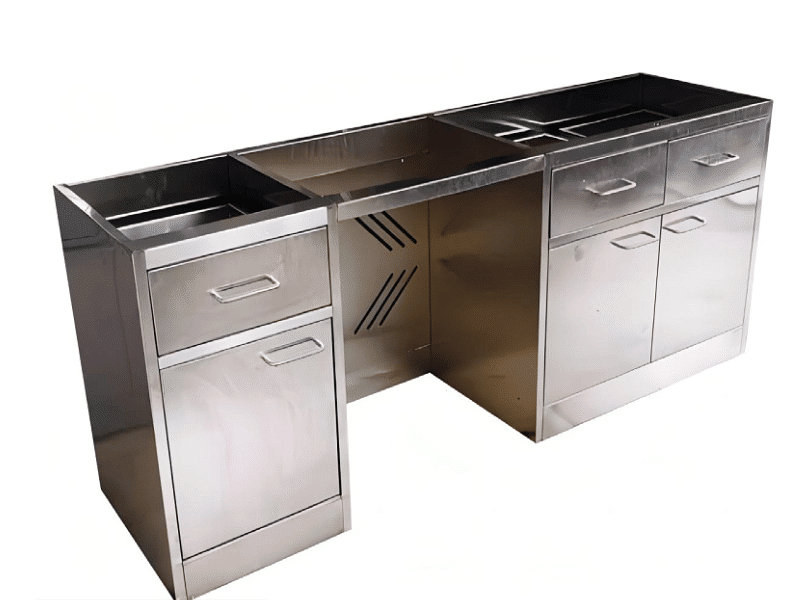
Steel casework: Inspect painted or powder-coated steel cabinets for scratches and chips. Touch up damaged areas promptly to prevent corrosion. In labs with high spill frequency, check the interior of base cabinets regularly for liquid infiltration.
Wood-framed casework: Wood is more susceptible to moisture damage than steel. Inspect around sink areas, service penetrations, and floor-level joints. Swelling, discoloration, or softness in wood components near water sources is an early indicator that you need moisture management. When Glorylab designs benches with integrated sinks and backsplashes, welded or continuously sealed joints eliminate common gap points where moisture enters wood structures—but even these should be inspected periodically.
What Cleaning Products Should You Avoid on Lab Benches?
Some of the most damaging cleaning practices aren’t about accidental spills, but about what you apply intentionally during routine maintenance.
Products to avoid on most worksurface materials:
- Abrasive scrubbing pads or powders — create micro-scratches that weaken surface integrity over time
- High-concentration bleach solutions applied for extended dwell times — potentially damaging to stainless steel and may discolor resin surfaces
- Undiluted strong acids or bases as cleaning agents — these are chemicals, not cleaners, and should be handled per SDS
- Acetone and aggressive organic solvents left to pool on resin surfaces — spot contact may be tolerated by some materials, but verify with manufacturer guidance
- Silicone-based sprays on worksurfaces — can leave residues that interfere with chemical resistance and sample work
Always verify cleaning product compatibility with your worksurface material. When in doubt, consult the material manufacturer’s published chemical resistance data or contact your furniture supplier.
How to Prevent Heat, Scratch, and Impact Damage on Lab Bench Surfaces
Chemical resistance often gets the most attention in lab bench specifications — but thermal, scratch, and impact damage cause a significant proportion of worksurface replacements.
Heat protection:
- Use heat-resistant mats or trivets under hot equipment (hot plates, autoclaves, heating mantles)
- Never place a hot vessel directly on an epoxy resin, phenolic resin, or wood worksurface without protection
- Stainless steel and ceramic surfaces generally tolerate heat better, but sudden thermal shock (e.g., placing ice-cold equipment on a very hot surface) can cause cracking in ceramic
Scratch prevention:
- Use appropriate equipment pads or rubber feet under instruments
- Avoid dragging equipment across the worksurface — lift and place
- Cut and score marks from unprotected cutting activity are one of the most common forms of avoidable worksurface damage
Impact protection:
- Protect edges — the perimeter of a worksurface is typically the most vulnerable area for chipping and impact damage
- Ceramic surfaces require particular care; even a moderate impact from a glass bottle can initiate a crack
- Install appropriate edge profiles during bench specification to protect vulnerable corners
How to Maintain Lab Bench Cabinets, Hinges, Drawers, and Frames
The structural hardware of a lab bench — hinges, drawer slides, adjustable feet, locking mechanisms, and frame connections — is often overlooked until something stops working.
Hinges: Check door alignment monthly. Doors that sag or require extra force to close indicate a stressed hinge. Lubricate with a compatible, lab-safe lubricant. Replace hinges before they fail completely to avoid door damage.
Drawer slides: Full-extension slides should operate smoothly through the complete range of travel. Stiff or catching slides may need cleaning (debris in the slide channel) or lubrication. Overloaded drawers damage slides over time — check that drawer contents are within load capacity.
Adjustable leveling feet: Lab benches in refurbished or older facilities often settle unevenly over time. Check floor contact annually and re-level as needed. Uneven load distribution can stress the frame and worksurface joints.
Frame connections: Inspect welded joints and bolted connections at structural points. Loose connections introduce flex into the bench, which eventually translates to stress at the worksurface level — particularly at sink cutouts and joint lines.
Locking mechanisms: For mobile benches and storage cabinets, confirm that locks and caster brakes function correctly. A mobile bench that shifts under load is a safety risk.
Common Lab Bench Maintenance Mistakes to Avoid
Even well-resourced labs make predictable maintenance errors. These are the patterns that most commonly lead to premature worksurface and hardware failure:
Using a single cleaning protocol for all materials. A product safe for stainless steel may not suit epoxy resin. Each material type needs its own cleaning protocol.
Ignoring joint areas. Worksurface joints — particularly around sink cutouts, backsplash connections, and service penetrations — are the most vulnerable points on any bench. Cleaning around them instead of addressing them directly lets moisture and chemical residue accumulate over time.
Delaying spill response. The difference between a spill that causes no lasting damage and one that permanently stains or etches a surface is often a matter of minutes. Prompt response is the most effective form of surface protection.
Applying abrasive tools to “stubborn” stains. Scratching through a stain leaves a damaged surface that stains more easily next time. Use appropriate chemical dwell time with a compatible cleaner rather than mechanical abrasion.
Not documenting damage. Maintenance logs that track surface condition over time allow facilities teams to distinguish between normal wear and accelerating degradation. Without documentation, it’s difficult to make a justified case for replacement or to identify the root cause of recurring damage.
Overlooking casework interiors. Cabinet interiors in labs that handle liquids regularly should be inspected and cleaned — not just the worksurface. Spills that penetrate through gaps accumulate inside casework and cause structural damage over time.
Planning a bench refurbishment or replacement? Submit your project specifications to Glorylab → for material selection guidance and a direct factory quote.
When Should You Repair or Replace a Lab Bench?
This is one of the most practically difficult decisions for lab managers and procurement teams. Repair costs are immediate and visible; replacement costs feel larger upfront but may deliver better long-term value. The right answer depends on the extent and location of the damage, the bench’s age, and the materials involved.
Lean toward repair when:
- The damage is localized to a specific surface area or hardware component
- The worksurface material is otherwise in good condition
- The bench frame and casework are structurally sound
- The total repair cost is clearly lower than replacement with equivalent specification
Lean toward replacement when:
- Surface degradation is widespread or affects areas critical to lab function (e.g., around the sink, at primary work zones)
- The existing material is no longer appropriate for the lab’s current chemical environment
- Multiple hardware components have failed or are failing simultaneously — this typically indicates the bench has reached the end of its serviceable life
- The frame or casework shows structural damage, significant corrosion, or moisture damage that cannot be addressed locally
- A lab reconfiguration or expansion is already underway — replacement during a broader project is more cost-effective than replacement in isolation
At Glorylab, a significant portion of replacement inquiries come from labs where the original worksurface material didn’t match the actual chemical environment. The bench may have been specified for a different application, or the lab’s chemical use changed after installation. If this is the situation you’re evaluating, consider material reselection—not just like-for-like replacement. Contact Glorylab to discuss worksurface material options →
Preventive Maintenance Schedule
|
Task |
Frequency |
Responsible |
|---|---|---|
|
Wipe down all worksurfaces and dry |
Daily |
Lab staff |
|
Clean sink area and check for standing water |
Daily |
Lab staff |
|
Check drawers, doors, and service fittings |
Daily |
Lab staff |
|
Inspect surface joints and sink cutouts |
Weekly |
Lab manager/facilities |
|
Test drawer slides and door hinges |
Weekly |
Lab manager/facilities |
|
Check gas taps and water valves for operation |
Weekly |
Lab manager/facilities |
|
Tighten frame fasteners and shelf brackets |
Monthly |
Facilities |
|
Level adjustable feet |
Monthly |
Facilities |
|
Lubricate hinges and drawer slides |
Monthly |
Facilities |
|
Inspect casework interiors for spills and moisture |
Monthly |
Facilities |
|
Full structural inspection — frame, joints, and hardware |
Annually |
Facilities/contractor |
|
Review worksurface condition against maintenance log |
Annually |
Lab manager/procurement |
|
Assess material suitability against current chemical use |
Annually |
Lab manager/procurement |
How Glorylab Supports Your Lab Bench Project
Glorylab is a factory-based laboratory furniture manufacturer located in Jiangsu Province, near Shanghai. We design, fabricate, and quality-inspect every bench — worksurface, casework, sink, and service fitting— at our own facility before shipment. We supply directly to institutions, contractors, distributors, and procurement teams in more than 30 countries, with no agents or intermediaries.
From a maintenance perspective, the design and manufacturing decisions made at the procurement stage have long-term consequences. Benches with integrated sinks and welded or continuously sealed backsplash joints, for example, eliminate common gap points where moisture enters casework—a significant source of structural degradation that we see regularly in replacement project inquiries. Material selection, joint design, and surface specification are all decisions where getting the right input early pays dividends across the life of the bench.
Our team provides:
- Material selection consultation — we help match worksurface material to your specific chemical environment, not just the most common choice for your lab type. This reduces long-term maintenance burden and extends service life.
- Custom dimension and configuration support — standard bench sizes rarely fit lab layouts precisely. We work to your specifications at no additional cost.
- Technical documentation — we provide the documentation procurement and compliance teams need for project handover, including test reports and certification where applicable.
- Direct factory communication — when you contact Glorylab, you’re speaking with the people who build your furniture. This means faster, more accurate responses to technical questions about materials and maintenance.
Request a material selection consultation →
Submit an RFQ for lab bench replacement →
Frequently Asked Questions
What is the best daily cleaning routine for a chemical lab bench?
The best daily routine involves wiping all worksurfaces with a pH-neutral, laboratory-grade cleaner after each use, drying surfaces thoroughly, cleaning the sink area and checking for standing water, and visually inspecting for new surface damage. The specific cleaning products appropriate for your bench depend on the worksurface material—always verify compatibility before adding a new product to your cleaning rotation.
How do you clean an epoxy resin lab worksurface without damaging it?
For routine cleaning, mild detergent solutions or dilute isopropyl alcohol work well on epoxy resin surfaces. Avoid abrasive pads, prolonged contact with strong oxidizing acids, and organic solvent pools left to dwell. Always dry the surface after cleaning. For specific chemical exposures, verify compatibility with the manufacturer’s chemical resistance data.
What cleaning products should never be used on lab benches?
Products to avoid on most lab bench worksurfaces include abrasive scrubbing pads or powders, high-concentration bleach solutions applied for extended dwell times, silicone-based sprays, and undiluted strong acids or bases. The exact list varies by worksurface material —always consult the manufacturer’s guidance and your facility’s cleaning SOPs.
What should you do immediately after a chemical spill on a lab bench?
Ensure appropriate PPE is in place, then follow your facility’s spill response SOP and consult the SDS for the specific chemical involved. In general terms: contain the spill, remove bulk material using appropriate absorbents, clean the affected area per SDS guidance, inspect the surface for damage, dispose of waste materials according to chemical waste procedures, and document the event.
How do you know when to replace rather than repair a lab bench?
Replace a lab bench when surface degradation is widespread, multiple hardware components are failing simultaneously, the existing worksurface material is no longer appropriate for the lab’s chemical environment, or the frame or casework shows structural damage that cannot be addressed locally. Repair is appropriate for localized surface damage or individual hardware failure on an otherwise sound bench.
How does worksurface material selection affect long-term maintenance?
Significantly. A worksurface material well matched to your lab’s specific chemical environment will degrade more slowly, require less frequent intervention, and retain its surface integrity longer than a material that is adequate but not optimally suited. This is why material selection at procurement — ideally with input from someone who understands both the chemical environment and the material options — is the most effective long-term maintenance decision available to procurement teams and lab managers.
Can Glorylab supply replacement worksurfaces without replacing the full bench?
This depends on the existing bench configuration and the dimensions involved. Contact Glorylab directly with your specifications. In cases where casework is structurally sound but the worksurface has degraded, a surface-only replacement may be viable. In other cases, a full bench replacement may offer better long-term value.