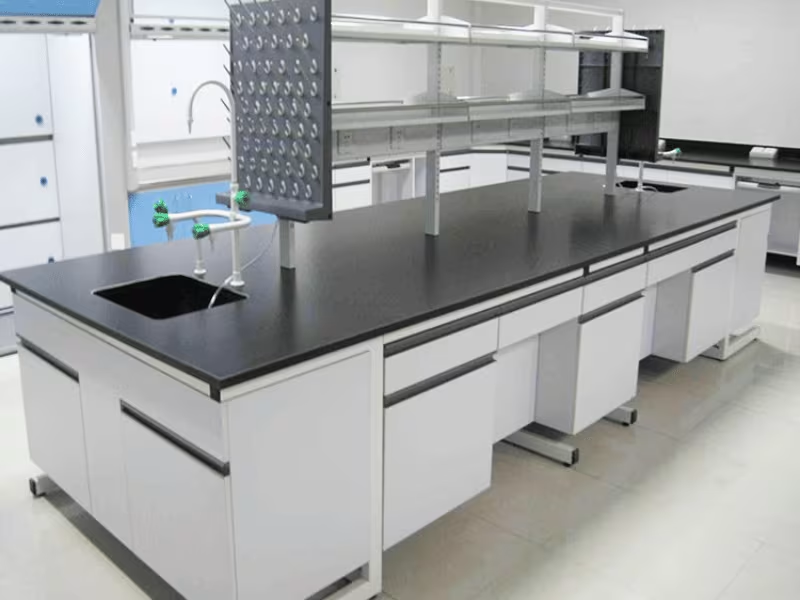
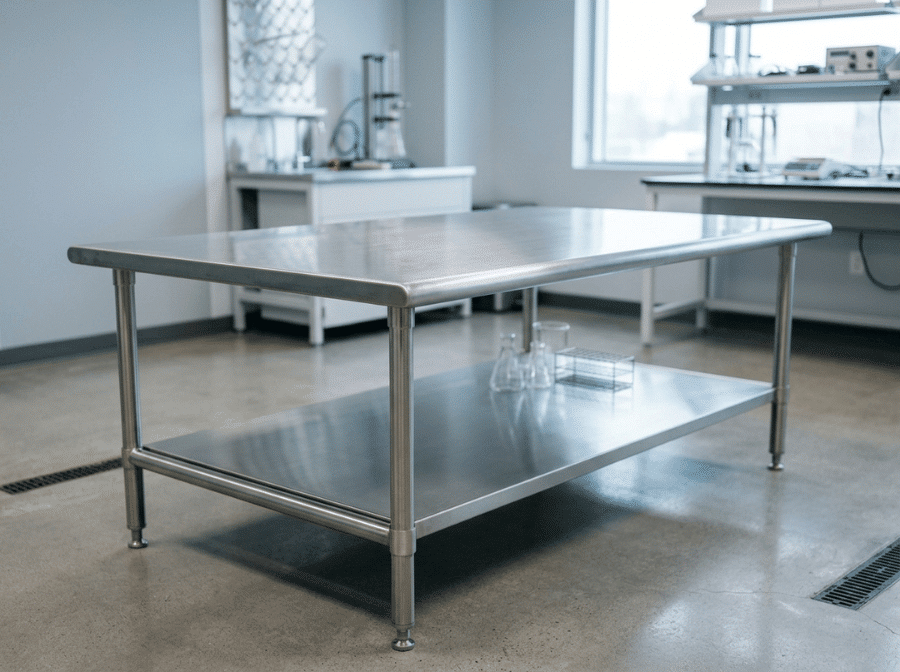
A lab bench with sink integrates plumbing directly into the casework, so sample prep, cleanup, and handwashing happen at one workstation instead of across the room. Getting it right means matching sink configuration (single, double, wall-mounted, or mobile) to your lab’s actual throughput, then pairing the surface material (stainless steel, phenolic, or epoxy) to what really lands near that basin.
A lab bench with sink brings plumbing into the casework itself, so sample prep, cleanup, and hygiene tasks happen at a single point without breaking the flow of work. That sounds simple, but the details matter more than most labs expect going in. A sink placed in the wrong spot, sized for the wrong task, or built from a material that can’t handle daily splashes creates real problems: wasted time, contamination risk, and surfaces that wear out faster than they should.
This guide breaks down what actually separates a sink-integrated bench from standard casework, walks through the main configuration types, compares surface materials by chemical exposure, and lays out a buying process you can follow start to finish. It also flags the mistakes labs make most often when they skip straight to a spec sheet. By the end, you’ll know what to look for based on how your lab actually runs, not just what a catalog recommends.

What Makes a Lab Bench with Sink Different
Adding a sink to a lab bench isn’t a fixture upgrade. It’s a functional decision that shapes how work happens throughout the day. The sink determines where sample prep occurs, how cleanup fits into the workflow, and how effectively cross-contamination gets controlled between tasks.
Consider the alternative: a lab without an integrated sink forces staff to walk to a shared basin across the room every time they need to rinse glassware or wash their hands. For time-sensitive samples, that walk isn’t just an inconvenience — it can compromise results. For chain-of-custody work, every extra step away from the workstation introduces a break in the documented handling process that auditors will eventually ask about.
The hygiene angle matters just as much. When handwashing and equipment rinsing happen at the point of use, contamination risk between tasks drops significantly. A technician moving from handling a biological sample to prepping the next one can decontaminate immediately, rather than carrying residue across the lab floor.
This is the core distinction between sink-equipped benches and standard casework: plumbing integration isn’t an accessory bolted onto a workbench. It’s the defining feature that changes how a lab physically operates. Storage, surface finish, and footprint are secondary to how well the sink placement and configuration support the actual work happening around it.
Lab Bench Types: Matching Configuration to Workflow
Not every lab needs the same sink setup. The right configuration depends on throughput, available floor space, and how likely the layout is to change. If you are still comparing base lab bench configurations before narrowing down sink options, that is a useful first step before committing to a specific setup.
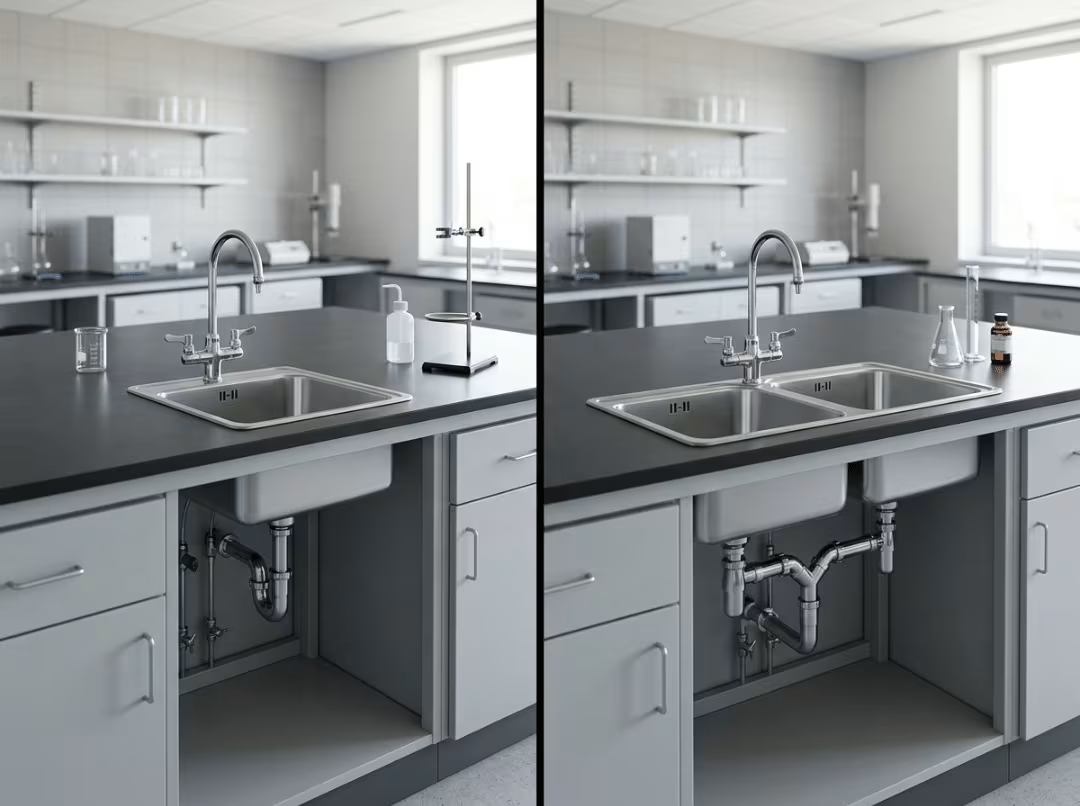
Single Sink Units
Choose a single sink unit if your lab runs moderate throughput, or if the sink’s main job is handwashing rather than heavy-duty cleanup. A teaching lab running periodic demonstrations, or a sample receiving station where staff log and rinse incoming materials before moving them elsewhere, rarely needs more than one basin. Single units keep plumbing simple — one supply line, one drain — which also keeps installation and maintenance costs lower.
Double Sink Units
Choose a double sink unit if your lab runs parallel processes, such as sample prep in one basin while cleanup happens in another. High-volume labs also lean toward this configuration, since two basins prevent the bottleneck of one team waiting on another to finish at a shared sink. The tradeoff is more complex plumbing and a larger footprint, so double sinks make sense where throughput actually demands it. In practice, most labs don’t need one — a single basin handles the majority of teaching and general research workflows just fine, and paying for a second basin that sits idle most of the day is money spent on capacity you’ll never use.
Wall-Mounted vs. Freestanding
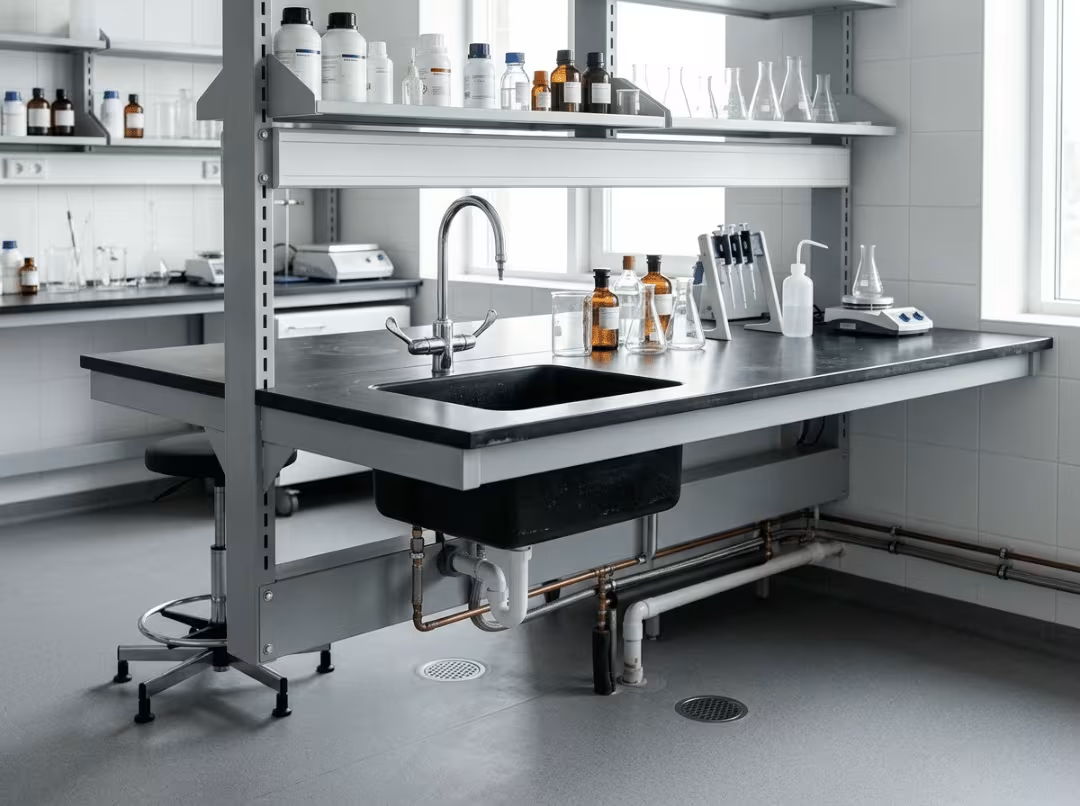
Choose wall-mounted if floor space is tight and you want plumbing runs to stay simple and fixed. Wall-mounted units anchor to existing water and drain lines along a wall, which reduces installation complexity but limits flexibility down the line — a real consideration for a shared wash-up zone serving several benches that might eventually be reorganized.
Choose freestanding if your lab uses a central-island layout or expects to reconfigure the floor plan in the future. Freestanding units cost more to plumb initially, since lines often have to run further, but they give you room to adapt as the lab’s needs evolve.
Mobile Units
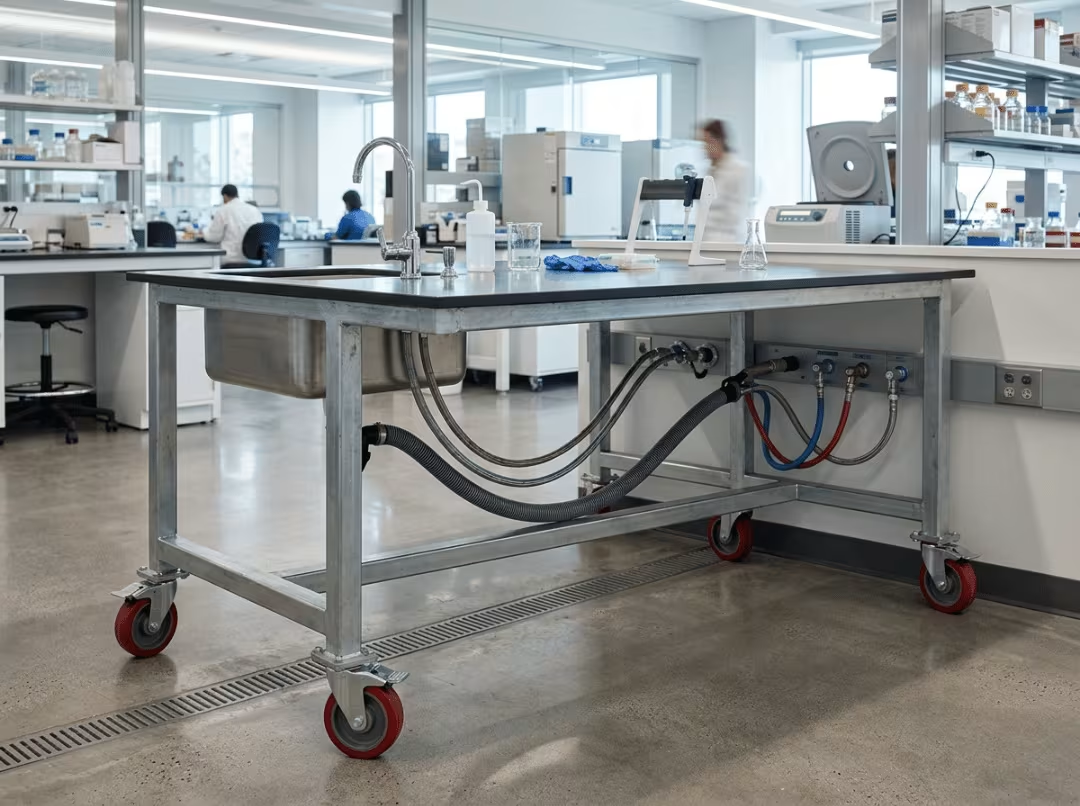
Choose a mobile unit if your lab’s layout shifts frequently, or if the same sink-equipped station needs to serve multiple rooms. The tradeoff is in the plumbing: mobile units typically rely on flexible hose connections rather than fixed lines, which means less consistent water pressure and more maintenance attention over time. Mobile units earn their keep in labs where flexibility outweighs plumbing permanence, not in labs running high-volume, continuous processes like wet chemistry benches that need reliable pressure all day.
Materials and Surface Selection
The surface around a lab bench with sink takes more abuse than most casework surfaces, since splashes, drips, and standing water concentrate right at the basin. The right material depends on what your lab is actually doing near that sink — and that decision should follow your workflow assessment, not precede it. A closer look at lab countertops and worktops can help you compare material options before finalizing the specification.
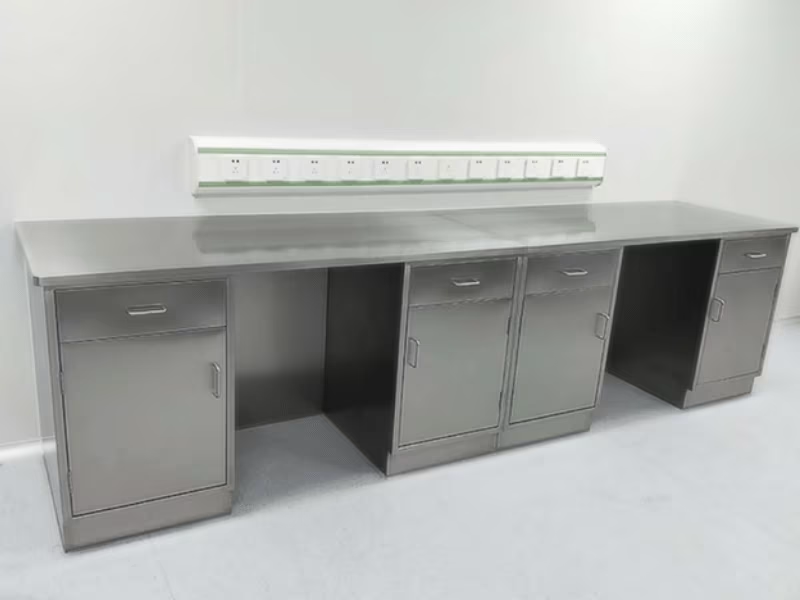
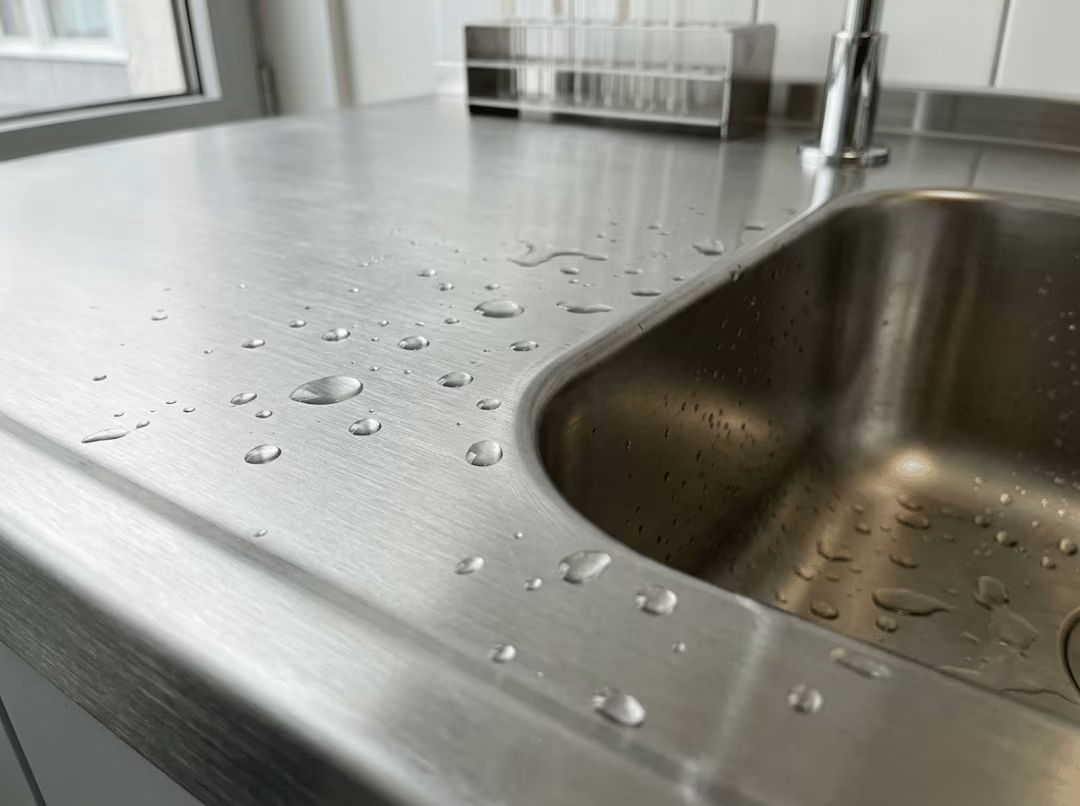
Stainless steel is the standard choice for microbiology, hygiene-critical, or biological workflows. A steel lab bench with sink resists corrosion, doesn’t harbor bacteria in surface pores, and sterilizes easily with standard cleaning protocols. If your lab needs to autoclave equipment or maintain strict sterility near the sink, stainless steel is close to non-negotiable.
Phenolic resin is a solid general-use choice for labs that don’t face constant heavy chemical exposure. It offers decent chemical resistance at a meaningfully lower cost than epoxy, making it practical for teaching labs, general research, or facilities where the sink handles routine cleanup rather than aggressive solvents.
Epoxy resin is the material to choose when your lab regularly works with solvents, strong acids, or bases. It offers the highest chemical resistance of the three and is the standard in wet chemistry settings, where a splash near the sink might mean concentrated reagent rather than just water.
The decision comes down to what actually lands on the surface near the basin. If your lab does biological or hygiene-sensitive work, choose stainless steel. If it’s general use with occasional chemical exposure, phenolic resin covers most needs. If solvents and corrosives are a daily reality, epoxy resin is worth the added cost.
Lab Bench Buying Guide: How to Choose
Once you understand the types and materials, the purchase decision comes down to a sequence of practical steps.
- Assess workflow. Map how samples and materials physically move through your space, and identify where hands-on cleanup naturally occurs. This tells you where the sink needs to sit, not just what type it should be. A sample receiving area needs the sink near the intake point, not tucked in a back corner where staff have to carry contaminated materials past other workstations.
- Match material to chemical exposure. Revisit the resistance framework above and be honest about what actually gets rinsed, spilled, or handled near the sink on a regular basis, not just on your highest-risk days.
- Size and place the sink. Match basin size to the task: handwashing needs far less basin space than bulk glassware cleaning. Then decide on central versus side placement based on how traffic moves through the room. Location matters more than size — a well-placed compact sink beats an oversized one tucked in the wrong spot.
- Confirm utility integration. Check existing water supply and drainage locations before committing to a configuration. Retrofitting new plumbing runs costs significantly more than planning around what’s already in place, especially in older buildings where drain lines weren’t designed with lab casework in mind.
- Plan for scalability. If there’s any chance your lab layout will change — new equipment, a different floor plan, or shared space with another team — a mobile or modular unit can save a costly re-installation later.
One thing labs often misjudge: they oversize the sink expecting future needs, then end up with wasted counter space for years because the actual workflow never required bulk cleaning. Size for what you do now, and plan for scalability through layout flexibility rather than an oversized basin.
Common Buying Mistakes
Even labs that go through the steps above can trip on a handful of recurring errors:
- Choosing sink size before defining the task. Picking a basin size off a catalog page, then figuring out what it’s for, gets the sequence backward. Define the task first.
- Overpaying for double sinks with no real throughput need. A second basin only earns its cost when parallel processes actually demand it. Otherwise, it’s wasted counter space and unnecessary plumbing complexity.
- Selecting material based on price only. Phenolic resin costs less than epoxy for a reason. Choosing it for a wet chemistry bench that handles solvents daily trades a short-term saving for early surface failure.
- Underestimating plumbing constraints during retrofit. Assuming water and drain lines can go anywhere leads to surprise costs once a contractor opens the wall.
- Treating the sink as a feature rather than a workflow decision. A sink bolted onto a bench without regard for how staff actually move through the room undermines the entire point of integrating it in the first place.
Key Benefits of a Sink-Integrated Lab Bench
The value of a lab bench with sink comes down to three concrete advantages, all tied directly to having water at the point of use.
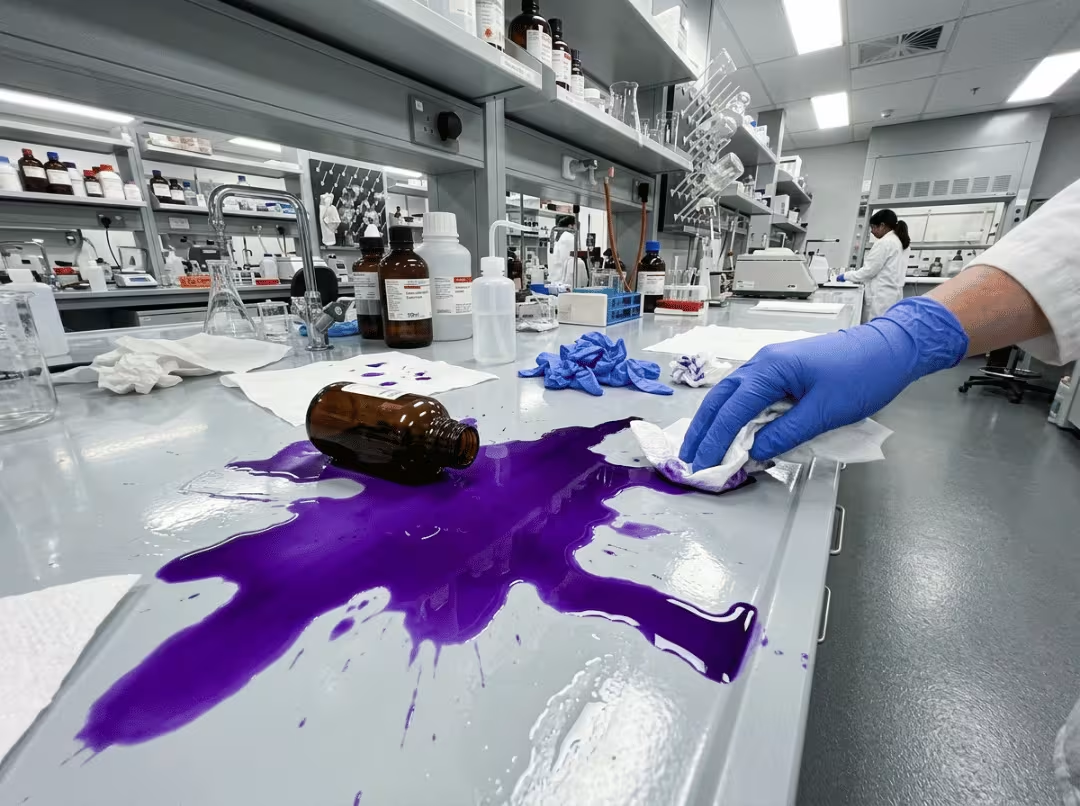
Safety and spill containment. Immediate water access means spills, contaminants, or reagent splashes can be rinsed the moment they happen, rather than after a walk across the lab.
Workflow efficiency. A sink within arm’s reach cuts cross-lab movement and reduces time-to-task, particularly in labs running frequent prep-and-clean cycles throughout the day.
Durability and total cost of ownership. A surface material matched to actual chemical exposure lasts longer and requires fewer repairs, lowering the total cost of the bench over its working life compared with a mismatched, cheaper option that needs early replacement.
Map Your Workflow Before You Request a Quote
The right lab bench with sink comes down to matching three variables to your actual daily operations: sink configuration, placement, and surface material. A lab running high-volume biological sample prep needs a different setup than a teaching lab doing occasional chemical demonstrations, even if both technically need “a bench with a sink.”
Before requesting quotes, map out your current workflow gaps: where staff currently walk further than they should, where surfaces are already showing wear, and where plumbing already exists versus where it would need to be installed. That single exercise clarifies more about which configuration you need than any spec sheet.

FAQ
What size sink do I need for a lab bench?
Sink size should match the task. Handwashing-focused stations work fine with a compact single basin. Glassware cleaning needs a mid-sized basin with enough depth to submerge equipment. Bulk cleaning or high-volume prep labs typically need a larger single basin or a double sink configuration to avoid bottlenecks. If you need a closer look at bowl sizes and installation types across different materials, the lab sinks page covers the full range of options.
Can a lab bench with sink be self-installed, or does it require professional plumbing?
Most installations require professional plumbing, since the bench needs to connect to existing water supply and drainage lines that meet local building codes. Mobile units with flexible hose connections offer more self-install flexibility, but fixed wall-mounted or freestanding units generally need a licensed plumber for proper installation.
Does surface material affect lab bench performance?
Yes, particularly around chemical resistance. Stainless steel, phenolic resin, and epoxy resin all perform differently under solvent, acid, or base exposure. For labs without heavy chemical use, the difference is mostly about durability and cost rather than day-to-day performance.
What is the typical lab bench with sink cost?
Cost varies based on material, configuration, and mobility. Phenolic resin single-sink units sit at the lower end of the price range. Epoxy resin and stainless steel units cost more due to material and fabrication. Double sink or mobile configurations add further cost due to plumbing complexity. Getting a quote based on your specific workflow assessment gives a more accurate number than a general price range.
How do I choose a lab bench with sink for a lab that’s likely to expand?
Prioritize mobile or modular units during planning, and confirm that utility lines can support additional connections later. Planning for scalability upfront costs less than retrofitting a fixed installation after the lab grows.